This short guide explains the different options for securing 3D printed parts together, and highlights the benefits of well-designed joints.
< Back to articles
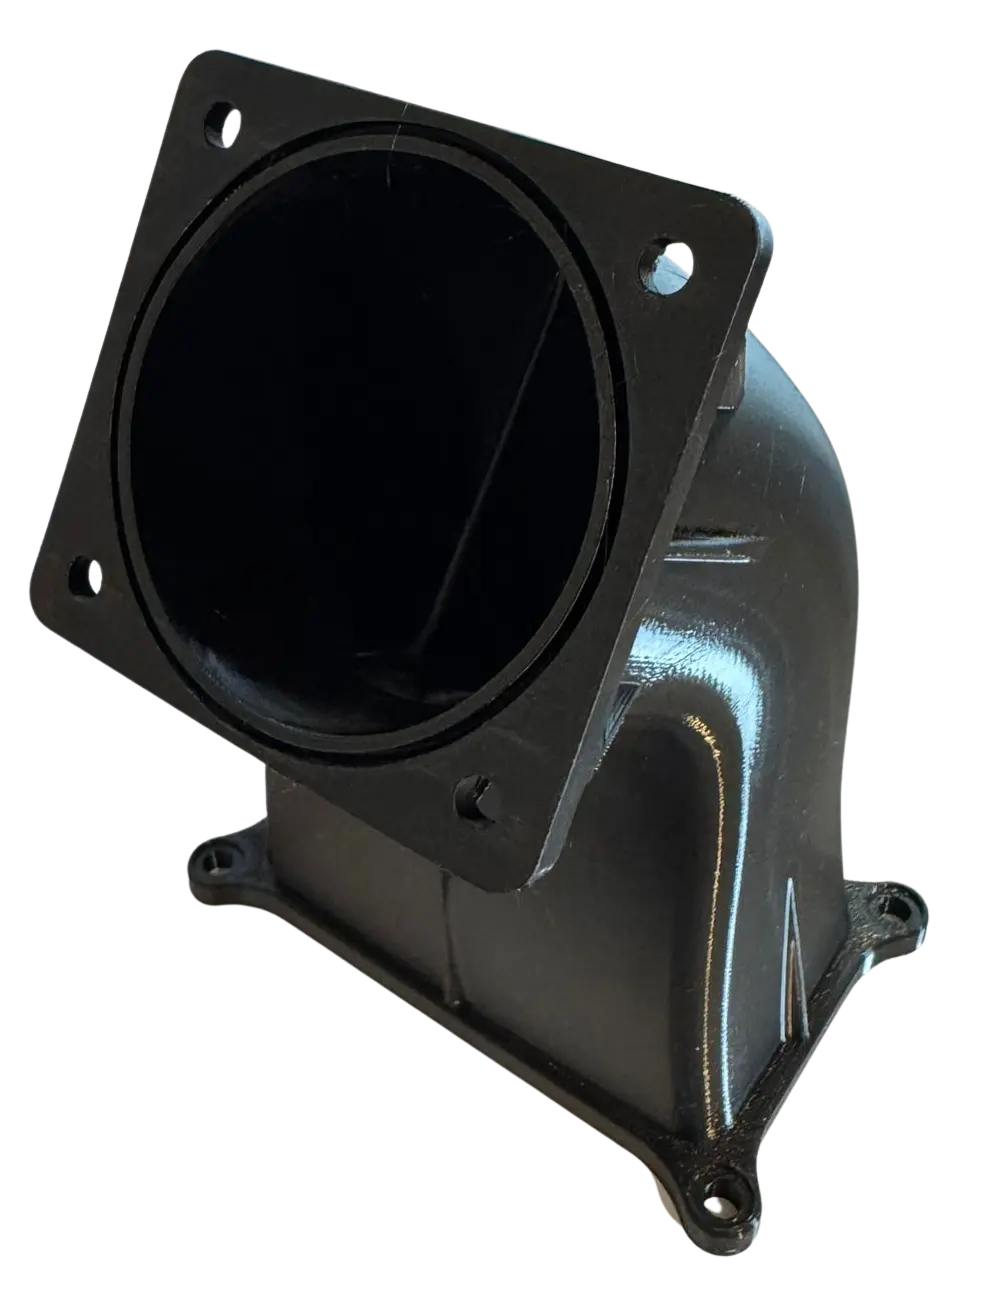
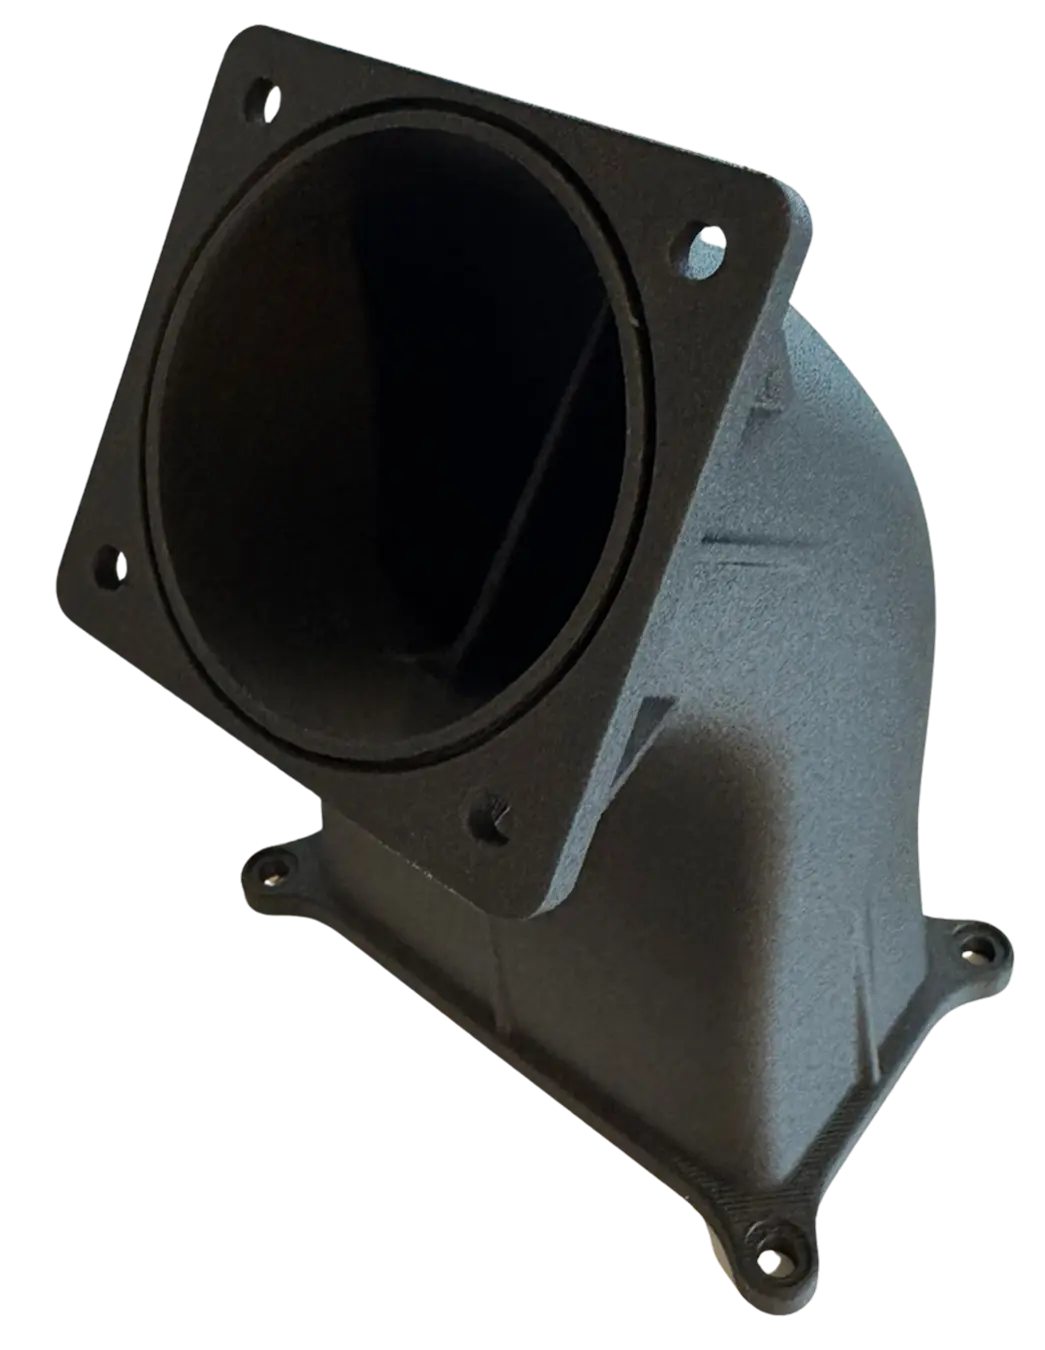
Choosing the right method to attach components together is one of the more significant responsibilities of an engineer or designer. This is still true when dealing with 3D printed parts, as components of different materials, sizes, and orientation will often need to be attached to one another.
The most common way to do this is using threaded fasteners. Parts attached using fasteners have the advantages of being easily dismantlable, and strong, without much added expense or effort. This is a separate topic for our purposes however, and a future article, to be uploaded in a few weeks time will cover this.
There are times however, when threaded fasteners simply aren't the best option.
Sometimes parts need to be permanently fixed together, and for this we can use adhesives, and glue them to one another. I'll refer to this as a bonded joint.
Other times, we can use design skills to create joints that slide, or slot together neatly, without the need for adhesives or fasteners. This is often used in other fields such as woodworking (joinery). I'll refer to this as a geometric joint.
Depending on the requirement you may have for a project, there are many different types of bonded or geometric joints that can be used. In general, far too much focus is put on choosing the right adhesive, when actually, the design of the joint itself is by far the most important factor for both strength, and ease of assembly.
The correct type of joint for a given design task depends entirely on the reason why the joint is needed. Bonded or geometric joints may be required for a variety of reasons, such as:
In general, this list moves from scenarios where a geometric joint is required, down to scenarios where a bonded joint may be more appropriate.
There are lots of problems with adhesives, that make geometric joints more appealing by comparison.
Working with adhesives can be messy, and potentially dangerous. It is very easy to spill adhesives onto clothes and skin, and some types will set almost instantly - especially cyanoacrylates (superglues). This risk can be partially mitigated with proper PPE and technique however. Glues can also look unsightly, and stain surfaces. In particular, cyanoacrylate glue can leave distinctive white marks around the seamline.
Some adhesives can also produce heat during the curing process. This can distort or warp 3D printed parts, and a looser fit is required for the parts to fit together. In general, the process of gluing is also highly manual, and not easily repeatable.
The biggest issue however, is that most designers will put too much faith in the strength of the adhesive. Poorly designed bonded joints will have the glue in purely tensile loading, so that the only thing holding a part together, is the glue itself. This type of joint will often fail, especially when shocked or jolted by a sudden transient force.
Geometric joints have none of these drawbacks, as well being easily disassembled. It is possible to design geometric joints that are strong in multiple directions, and closely controlling the tolerances without allowing for glue, means that they are very repeatable.
3D printed materials are anisotropic. They are much stronger along the plane of each layer, than in-between them - especially in tension. Wood is exactly the same. Carpenters and joiners know that to get the most from the material that they work with - the grain direction must be taken into account at every stage to avoid breaking.
Western joinery, particularly in modern times, uses a combination of nails, fasteners and adhesives to bond different pieces of wood together and make new wooden objects. In China and Japan however, joiners have been using nothing more than wood itself to create joints sturdy enough to last millennia.

These joints have big advantages over nailed or bonded alternatives. Thermal expansion and contraction will often weaken or break a nailed or bonded joint, as the different materials will expand and contract at different rates. Joints made entirely from the same material do not have this problem.
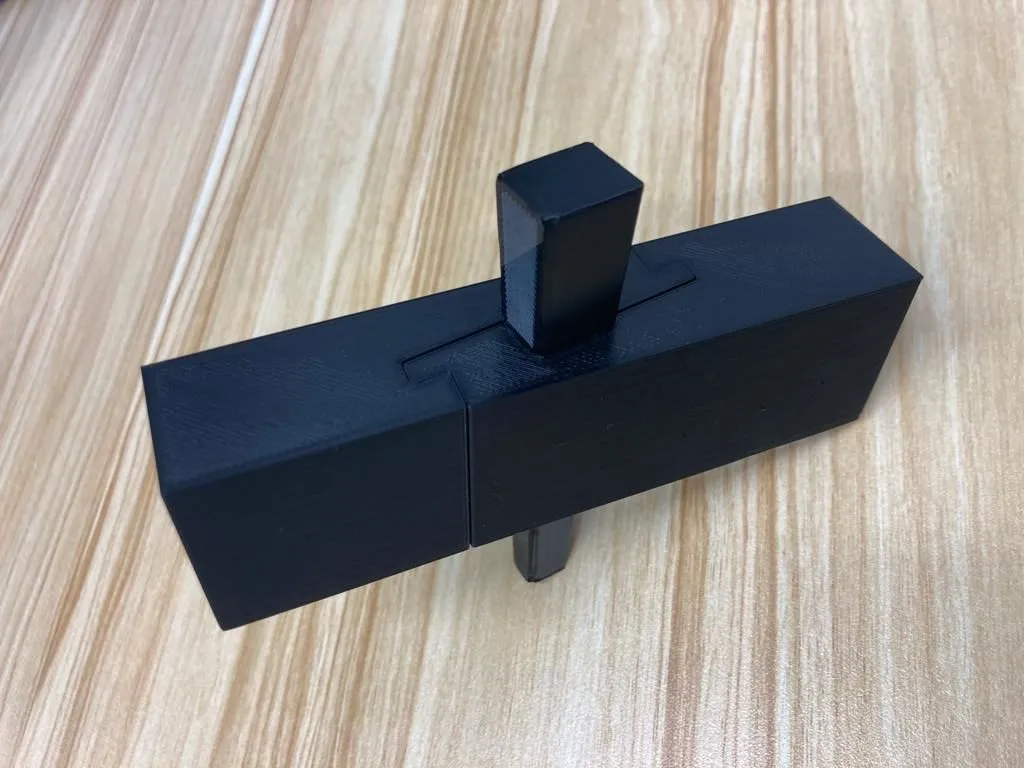
The main drawback of this type of design is complexity. Traditional Japanese joinery is slow, and practitioners train for decades in order to develop the required skills. When using additive manufacturing techniques - this is not a problem however. The complexity 'comes free' with 3D printed joints (as Avi Reichental famously said), and so there is some wonderful inspiration to be had by studying traditional Japanese woodworking and applying what you learn.
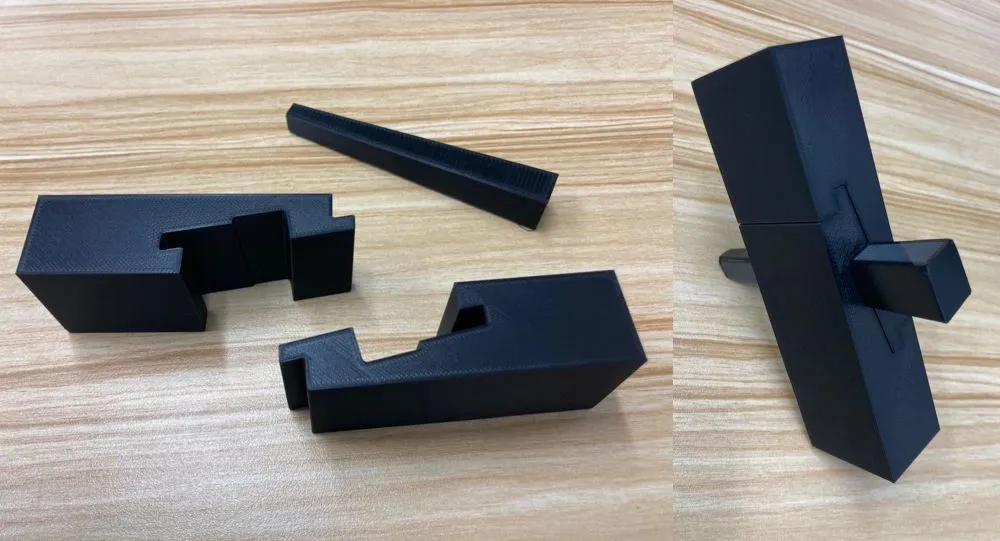
Joints designed by mimicking traditional Japanese woodworking methods are incredibly strong, and can be disassembled easily. The design above can be assembled in just a couple of seconds, and is far superior to many of the simpler styles of joining parts outlined below.
There is no single best adhesive to use when bonding 3D printed parts, and as I have already touched upon, the choice of adhesive is far less important than the design of the joint itself. Nonetheless, some types of glue are more effective than others.
Joining 3D prints with super glue is probably the most simple way to join 3D printed parts. Super glues will form a permanent bond in just a few seconds, and will form a good bond with most 3D printing materials - so long as surfaces are clean and dry.

Cyanoacrylates are best used for very small components, that will not be under serious stress, such as the figurine example above, which was printed in multiple pieces for optimum orientation. Apply a very thin layer to each piece, and then hold together for a few seconds. It's best to wear gloves as super glue will bond your skin (to just about anything) in only a few seconds, if you spill any.
For larger, more substantial components, the best glue to use is two-part epoxy. This will form a very strong bond, but most types take from 24 to 48 hours to fully cure. Most formulas require you to mix the two parts in a one to one ratio for a couple of minutes, and then apply very thin layers to each of the surfaces to be bonded. Most epoxies will produce some heat, as they rely on an exothermic chemical reaction.
Once the epoxy is partially cured, excess glue can be trimmed away using a scalpel, to create a near invisible seam once left to cure completely. Use epoxies on rigid materials that require a stronger bond than super glue can provide.
A hot glue gun is a familiar sight in most workshops, but we have found it to be of very little use in bonding 3D printed parts. Typically, hot glue produces a bond that is very brittle, and doesn't adhere well without extensive surface preparation. Applying glue is difficult and messy - best avoided.
If you need a way to permanently join 3D prints, that doesn't rely on adhesives - there are a few alternative options available. These are generally more difficult to use, and or rely on more specialised equipment, and so are best avoided unless there is no alternative.
Friction welding is a process that can be used to join both metals and plastics. One component is rubbed against the other at high speed, which heats the materials. Eventually the material on the surface of both components softens, and the components are moved into the desired position. The movement stops, the surfaces cool, and the parts are now joined together.
This process requires expensive, specialised equipment, but can produce excellent results when done correctly.
This is where an appropriate solvent is applied to one or both surfaces to be joined, which chemically dissolves the surface. The surfaces are then brought into contact with one another, allowing the dissolved material on the surfaces to mix. The solvent then evaporates, leaving the two surfaces permanently bonded.
A common example of this process used in 3D printing, is the application of acetone to ABS parts. The main drawback is that the chemicals required can be quite dangerous for certain polymers, and it is easy to spill the solvent and completely ruin the part. When done properly however, a strong permanent join is possible.
If you are confident that adhesives are definitely required, then you should consider the design of your bonded joint carefully. The most important consideration by far, is maximizing the surface area of the glued joint.
Glue is strongest in shear, and weakest in tension. When designing joints for gluing, consider the forces that will affect the assembly, and how they will carry through the glued section of the joint.
When you examine the different designs of glued joint below, you will find that the strength of each type is almost entirely dependant on the surface area of the bonded surface. For example, a butt joint is significantly weaker than an equivalent lap joint.
This section will outline the most common styles of bonded joints, and their relative strengths, drawbacks, and use cases. It is assumed that these styles of joint are for permanent bonds, as there is no easy way to disassemble them.
This is the simplest, and most common type of joint used to bond two surfaces together. It is also by far the worst. Never, ever, use this type of joint if you want two components to stay joined together.
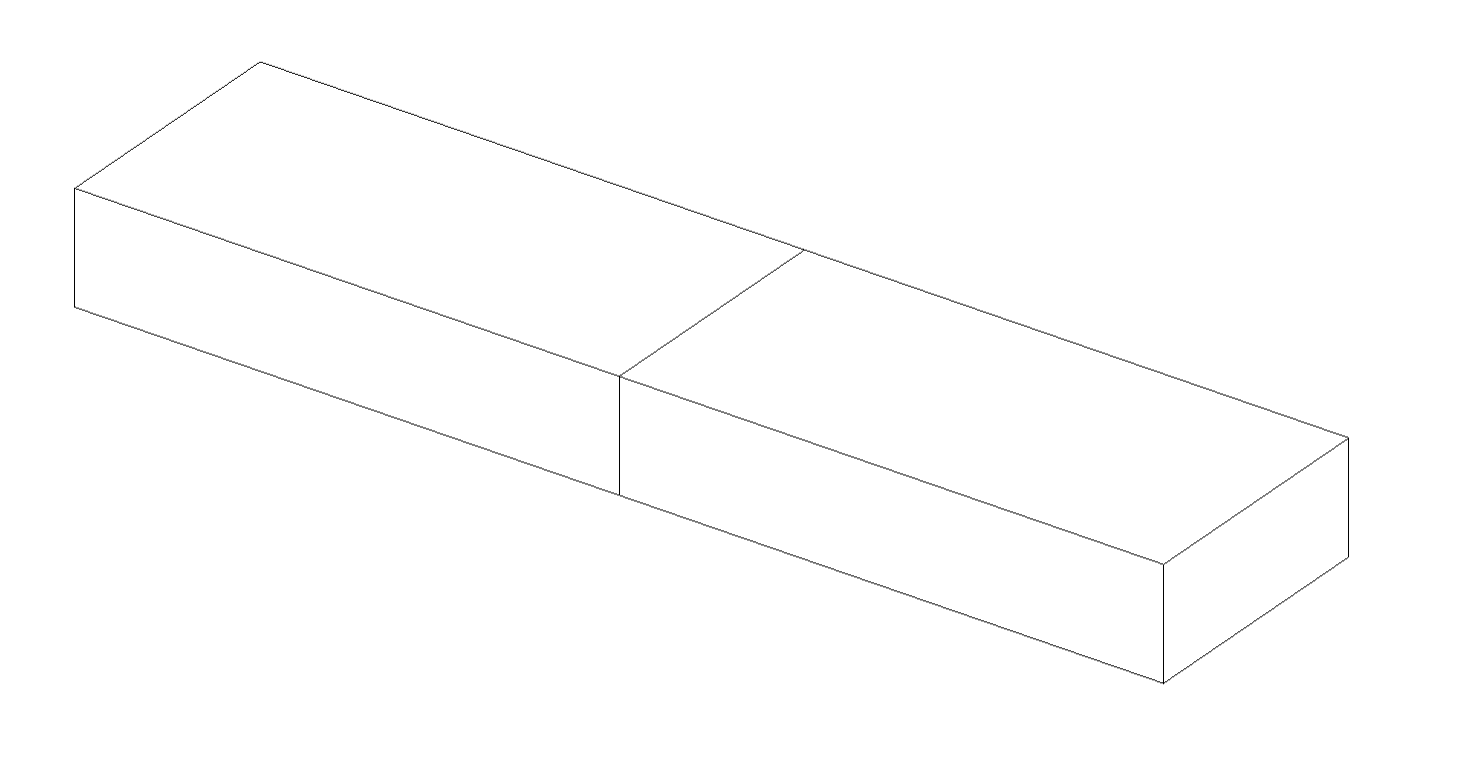
This joint has a very small surface area for bonding, and the glue will stressed in tension when the components are used. The only time this type of joint gets used is when designers are too lazy to design something better.
This is only a small change from a butt joint, and requires only a few extra seconds to design with CAD tools, but is much stronger. 3D prints joined using this method has a better chance of staying intact, when combined with a strong glue.
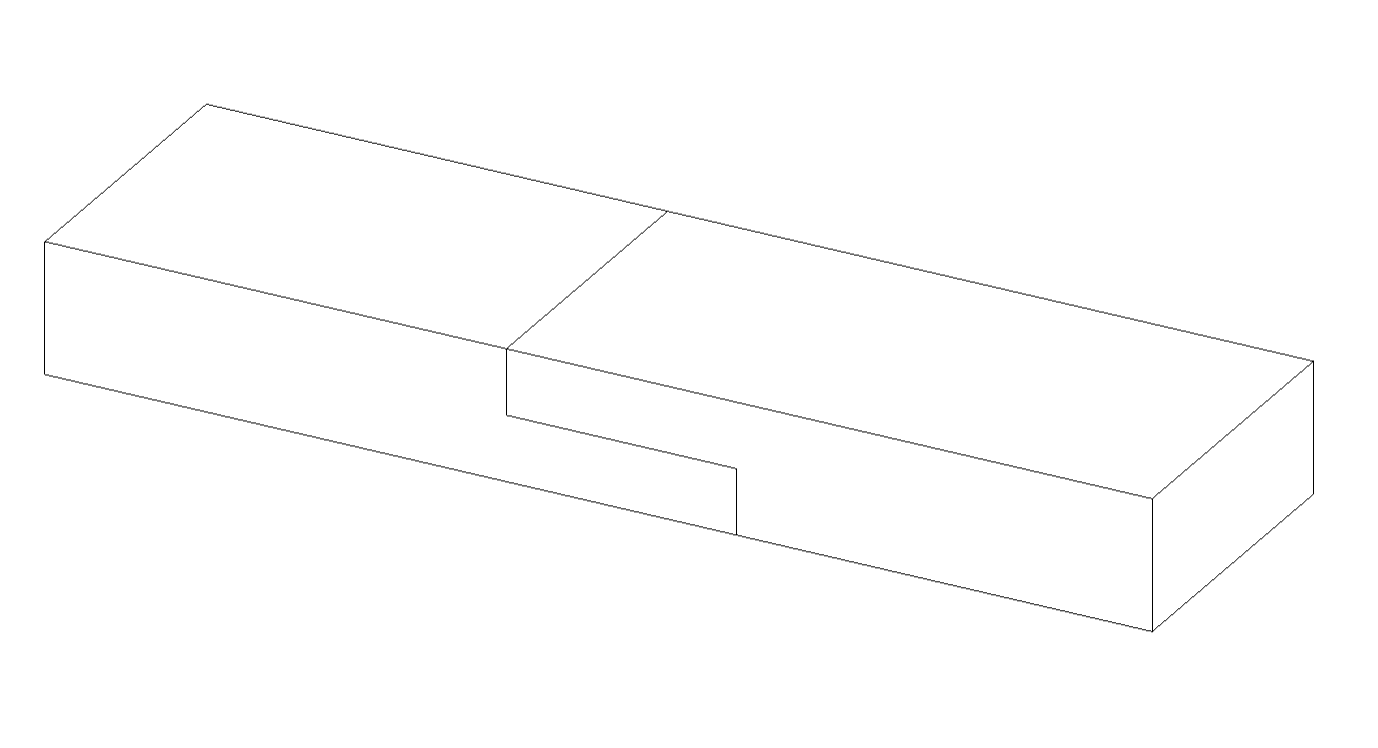
The surface area is still lower than it could be however, and there is a very visible seamline. This design is also weak in bending, as this puts the most of the glue in tension rather than shear stress.
Another step up. This style of joint effectively doubles the surface area that is glued, when compared to a simple lap joint. This style of joint is also stronger in bending than a lap joint.
Once again however, there is a very visible seamline, and the joint is weak in tension (when each component pulled towards the edges of your screen).
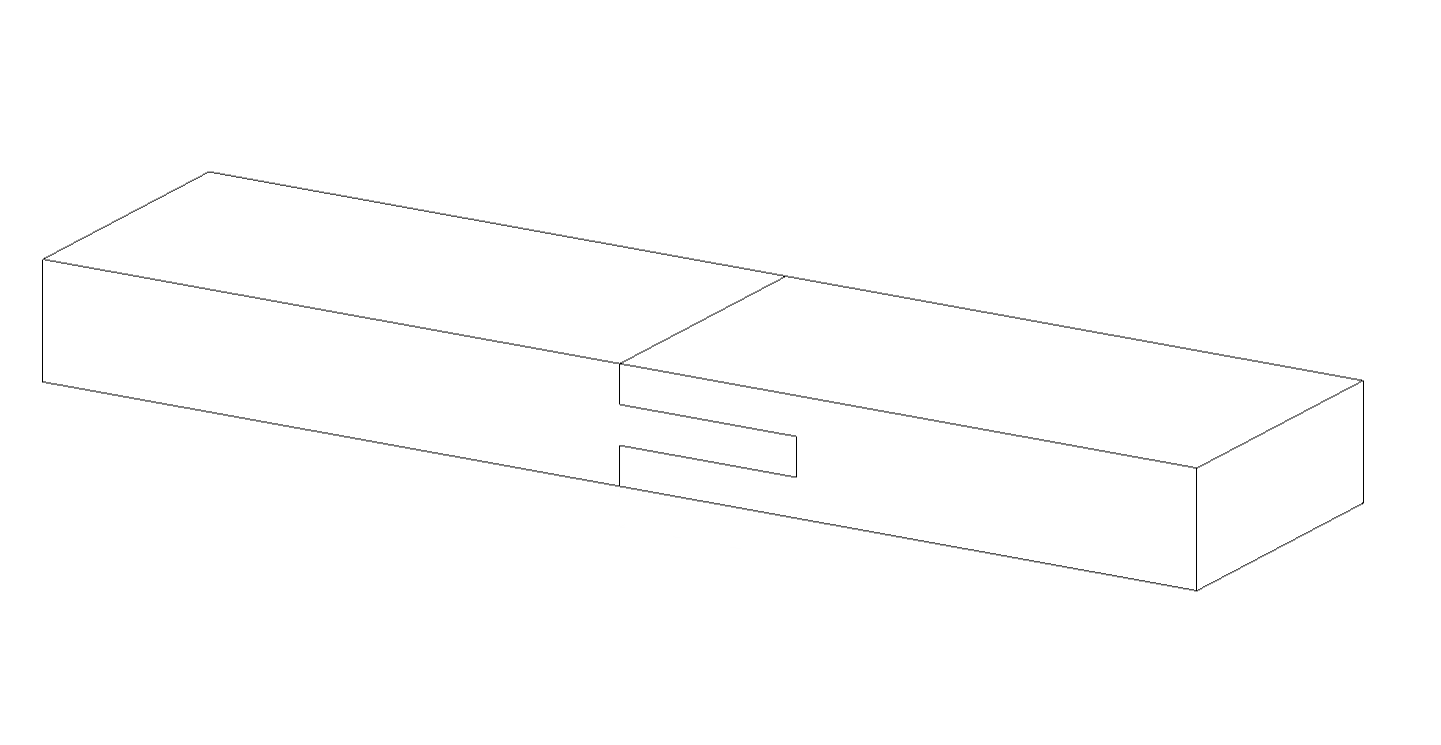
Just like a tongue and groove joint, but with the seamline a bit better hidden. This joint has a little more inherent strength, and with a tight interference fit between the mortise (left hand) and tenon (right hand) parts, this is the first joint that wouldn't necessarily fall apart immediately without glue.
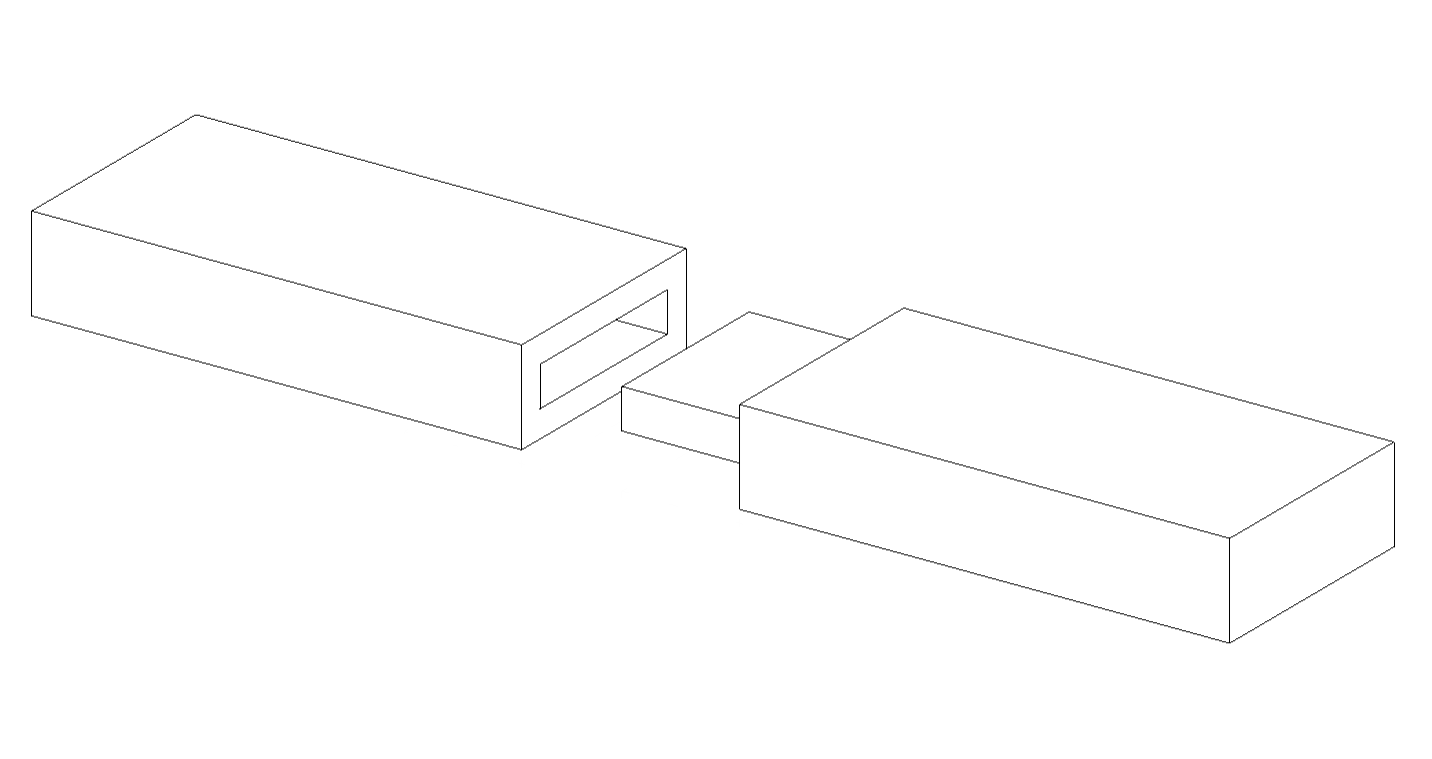
The main downside of this design is that the tenon is under very high stress when the joint is in bending, particularly if it is designed with sharp edges (such as in the above image). Yet again, this joint is also weak in tension.
This style of joint is most often used to join components at a right angle, such as for boxes and beams. Simple linear forms are also possible though. This style of joint is much stronger than the previous examples, and will hold itself together well before gluing.
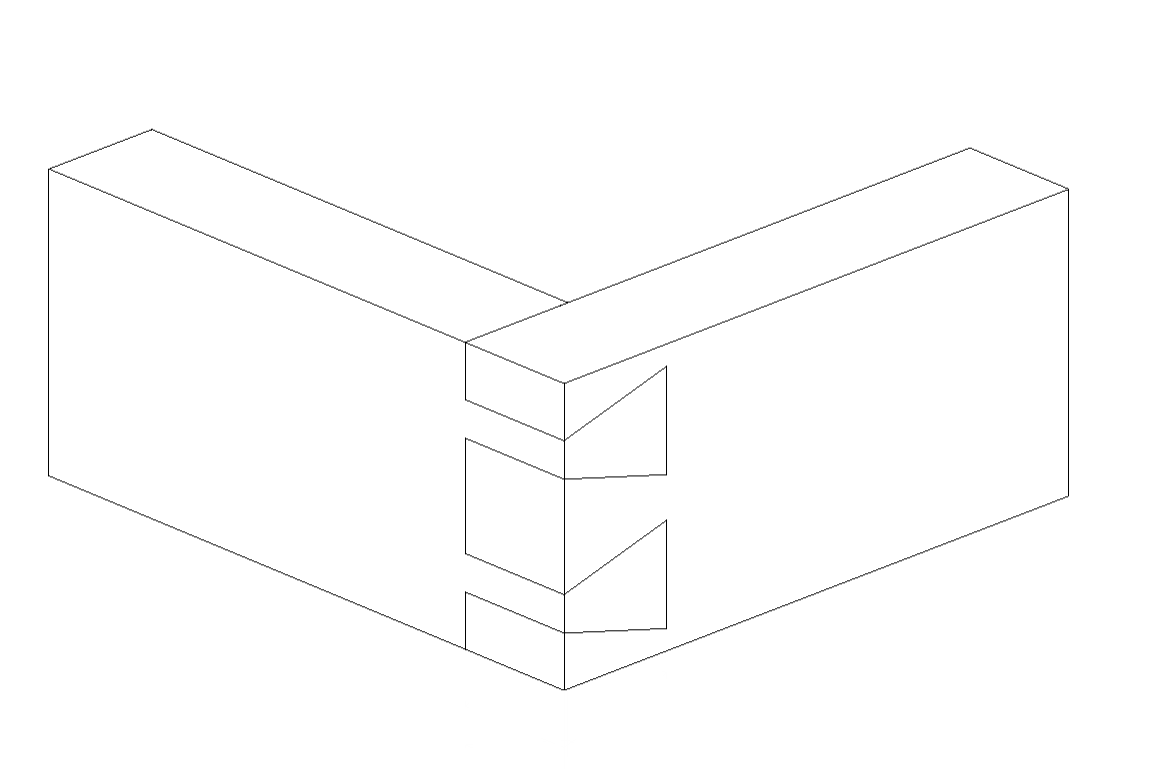
The main problem with this joint type is that the dovetails act as stress raisers unless rounded.
If you've read this far, you'll know that generally glued joints should be avoided wherever possible. There are lots of great ways to temporarily join two components together without them, and most of these are far more flexible and useful.
Sometimes however, you need a way to join parts permanently, with a strong bond that will last as long as possible. The best way to do this is to combine the Japanese style geometric joint designs mentioned earlier, with a strong two-part epoxy. That's it.
The design of the joint itself does most of the heavy lifting, and the only thing the glue contributes is stopping vibration from loosening it, or someone from accidentally dismantling the components when they shouldn't. Simply coat the mating surfaces with two-part epoxy, put the pieces together, and use a rubber mallet to ensure that everything is as tight as possible.
Unit 3, Stanley Court
Richard Jones Road,
Witney OX29 0TB
01865 597786
enquiries@printpool.co.uk


© Copyright 2025 Printpool Additive Manufacturing Ltd. All Rights Reserved.
Company number 12732758
VAT number GB354866659


.png)